Your bathroom renovation has a number of crucial elements that you need to work out, specifically:
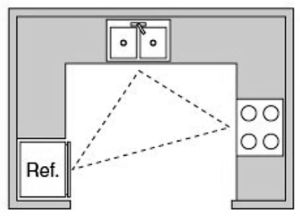
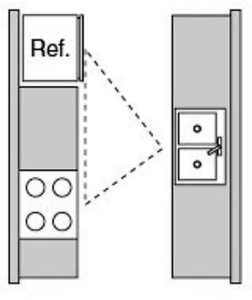
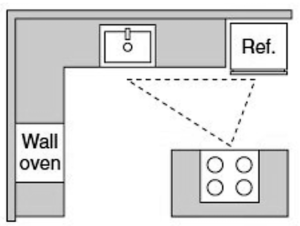
1. Make the bathroom layout work for you
A bathroom renovation is all about making this space practical and luxurious. If you are adding features then think about where your existing plumbing is, and what the impact is of moving these.
All of your plumbing needs to meet the Plumbing Code of Australia (PCA), which is the technical standard for all plumbing and drainage work in NSW. We only use the top local tradies, so you can rest assured that everyone who works on your plumbing is licensed by NSW Fair Trading.
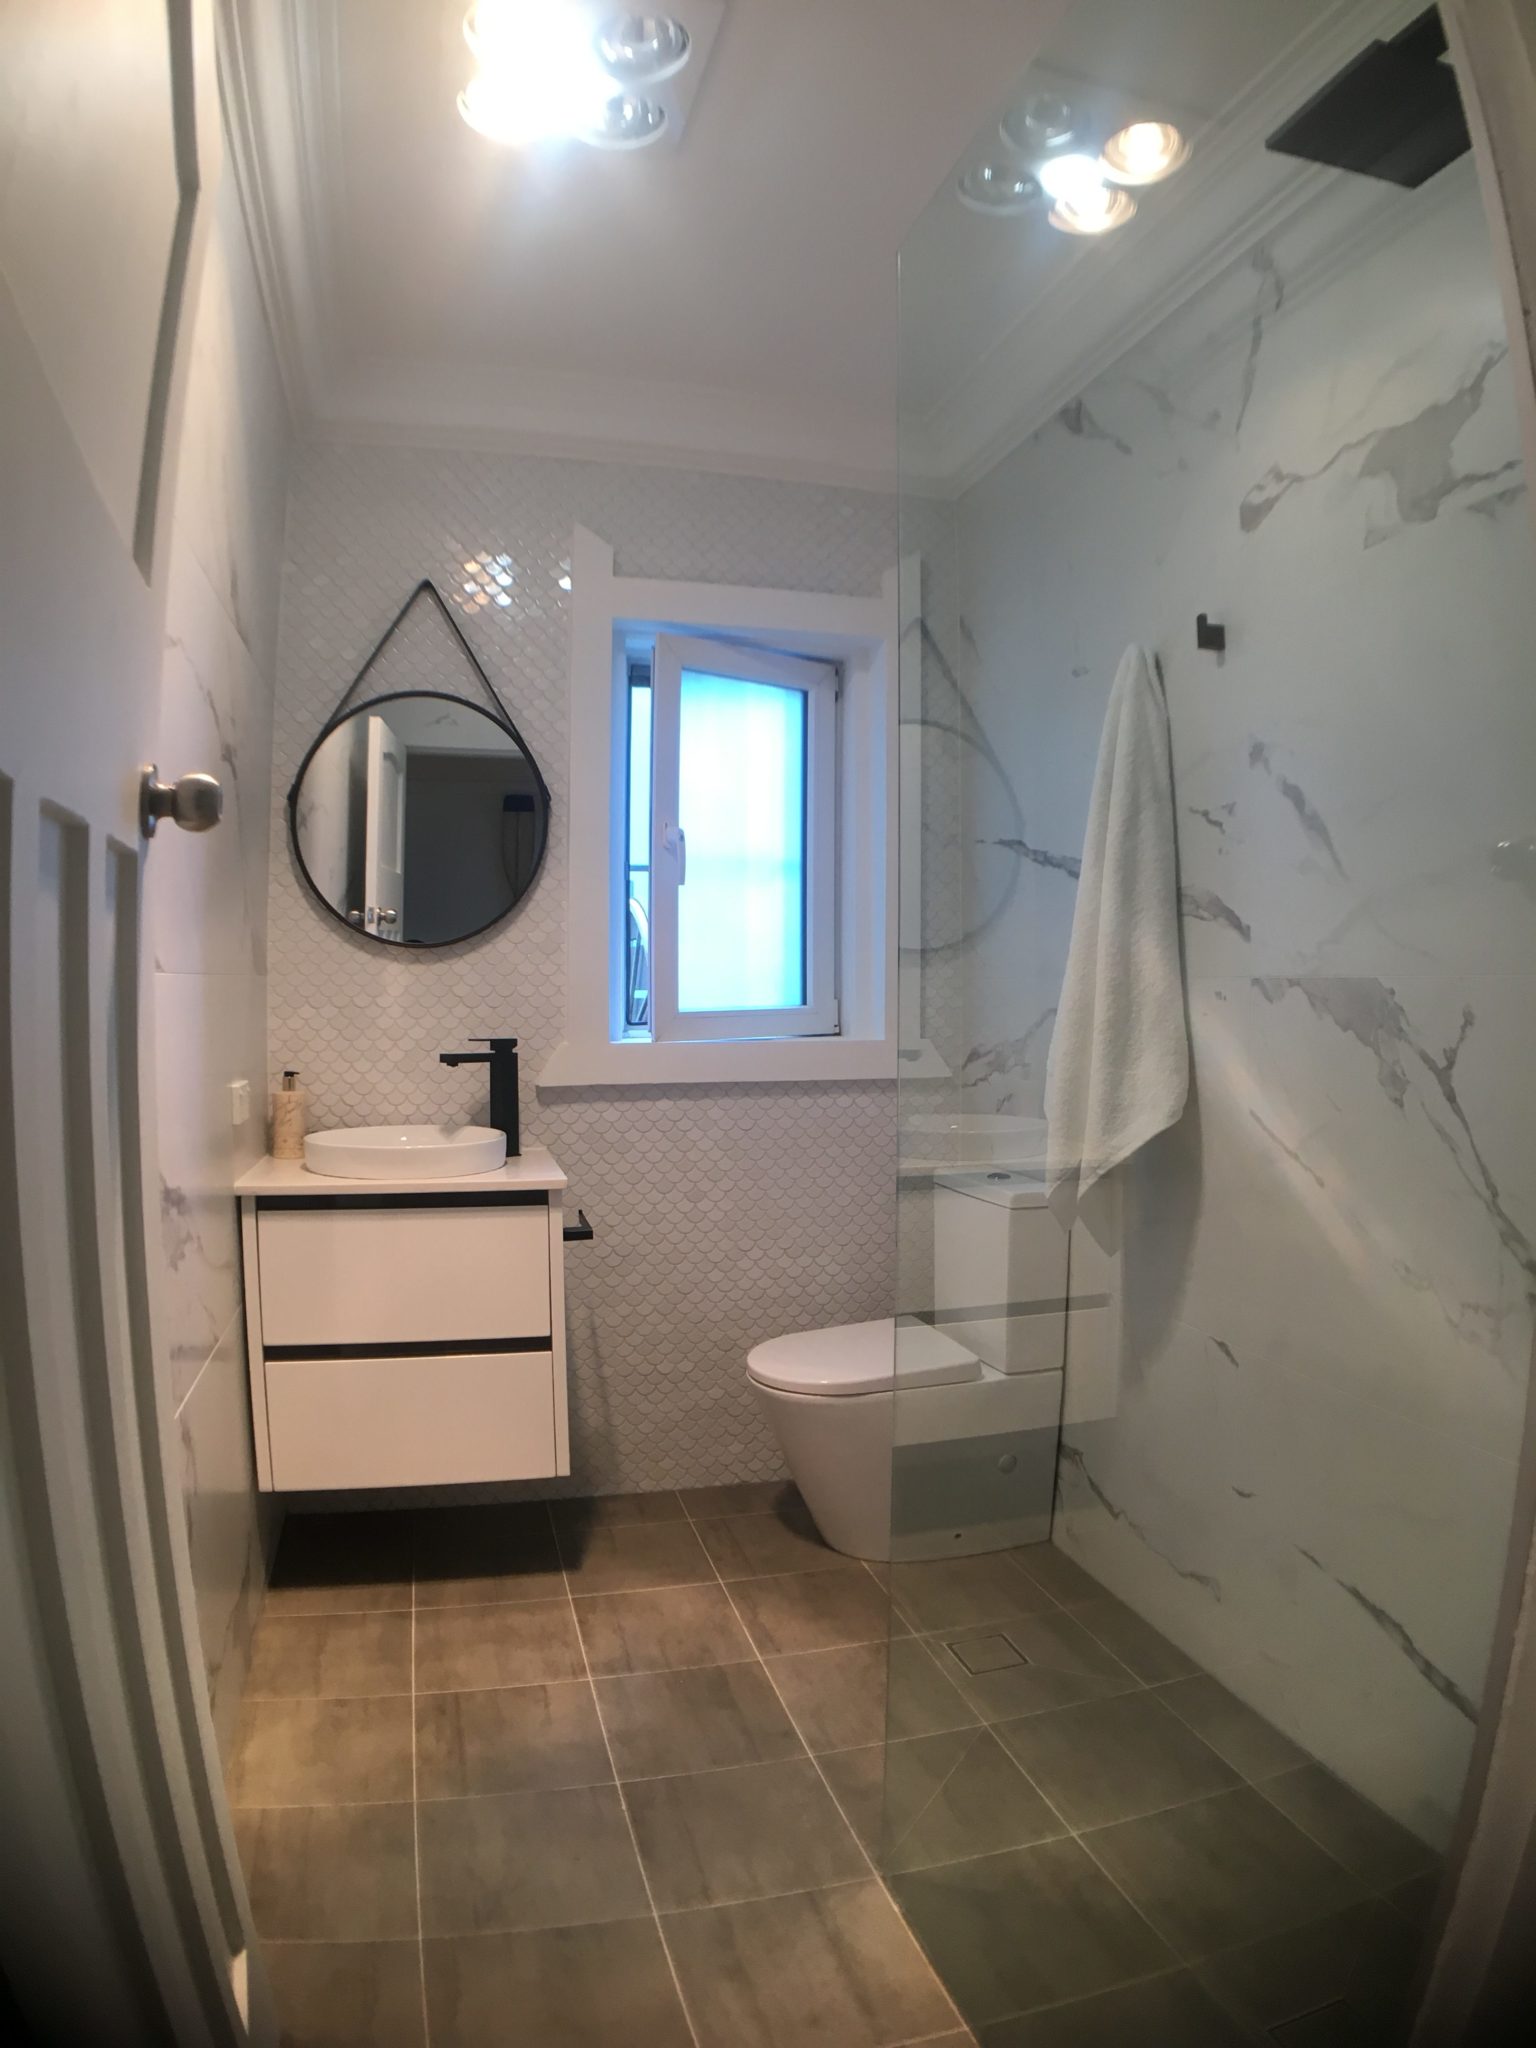
In terms of trends, many of the homes we work on are installing walk-in showers with frameless glass shower screens, as well as back to wall-mounted toilets and wall hung vanities. These tricks all help to make space look bigger, help with cleaning – and they work.
If you want to keep your bathroom costs down try not to move your services – like plumbing. Generally speaking, wall plumbing is smaller and therefore easier to relocate than floor plumbing as we can chase walls and run pipework in walls.
When it comes to relocating floor plumbing this involves moving really large pipes. This could involve serious jackhammering, core drilling through concrete slabs, and x-raying the floors. If you are in an apartment we may even need to access your floor from your neighbour’s unit below – which will increase the cost of the renovation.
2. Bathroom vanity and basin – to wall mount or not?
You are going to want enough storage in your bathroom vanity – and as mentioned, a wall mounted unit not only looks good but makes it easy to clean your bathroom floor. If your bathroom is a high traffic area think about a twin basin with decent bench space.
To clarify, a bathroom vanity is a cabinetry that is often integrated with a basin, where the basin can be inset, semi-recessed, or sit above the counter. You can also install a freestanding basin in a small bathroom where there is no space or need for storage.
A common mistake people make or miss when buying wall hung vanities, is they forgot that their old vanity has a floor waste that goes all the way to the ground. This becomes a variation cost if the builder needs to move the plumbing so it is not visible.
Chat to us before you buy your vanity so we can talk you through your options. See our suppliers page.
3. Bathroom tub – freestanding or in-cradle?
Your bathtub can be the centerpiece of your bathroom, where a modern freestanding or vintage ball and claw can both do the trick. There are a wide variety of brands to choose from in a range of sizes. Standard bathtub sizes are 1500mm to 1650 millimeters long and 750mm wide, but you can certainly go bigger if you have space.
4. Bathroom fixtures and fittings – taps, showerheads and shiny bits
Your bathroom fixtures and fittings should all be practical, coordinate with each other and look stylish. Tapware comes in chrome, brass, gold, stainless steel and even a black finish. Be careful choosing these items as they can quickly increase the cost of your renovation. Other elements you need to put on your list include lighting, heating, towel rails, and shelving.
5. Bathroom tiles – small or big, porcelain or ceramic?
Tiles are the most practical and popular flooring for your bathroom, tiles are water-resistant, easy to clean and durable. Tiles are also a sensible choice for your bathroom walls – where you can opt to use the same as your floors or contrast. But which tile is best – porcelain or ceramic?
Porcelain Tiles:
Pros: Dense, impermeable and extremely durable, less porous than ceramic
Cons: Heavier and more expensive than ceramic, and trickier to cut
Ceramic Tiles:
Pros: Cheaper than porcelain, lighter and easier to cut
Cons: Porous if unglazed and less durable than porcelain
In terms of cost, larger tiles are cheaper to lay than smaller, more detailed mosaics as these take longer and tilers charge more for them.
6. Shower screen – to frame or not to frame?
For your shower screen, you have a choice between framed, frameless and semi-frameless. People have moved away from framed shower screens – which are the cheaper of the three – and the trend is for the seamless, clean look of frameless and semi-frameless screens. Walk-in showers are really popular, especially if you opt to design an open plan ‘wet room’ style bathroom.
Here a frameless shower screen can make your space look really clean and modern. You definitely pay for the look of frameless, which is a pane of glass with a few brackets – but you can’t beat the look and they are also easier to keep clean. A mid-range option is a semi-frameless shower screen which has a low profile frame and a frameless door.
Now let’s take a look at the staging of your bathroom renovation, and what order everything happens in.
Steps by Step Bathroom Renovation
Follow these steps;
1. Design Bathroom Layout
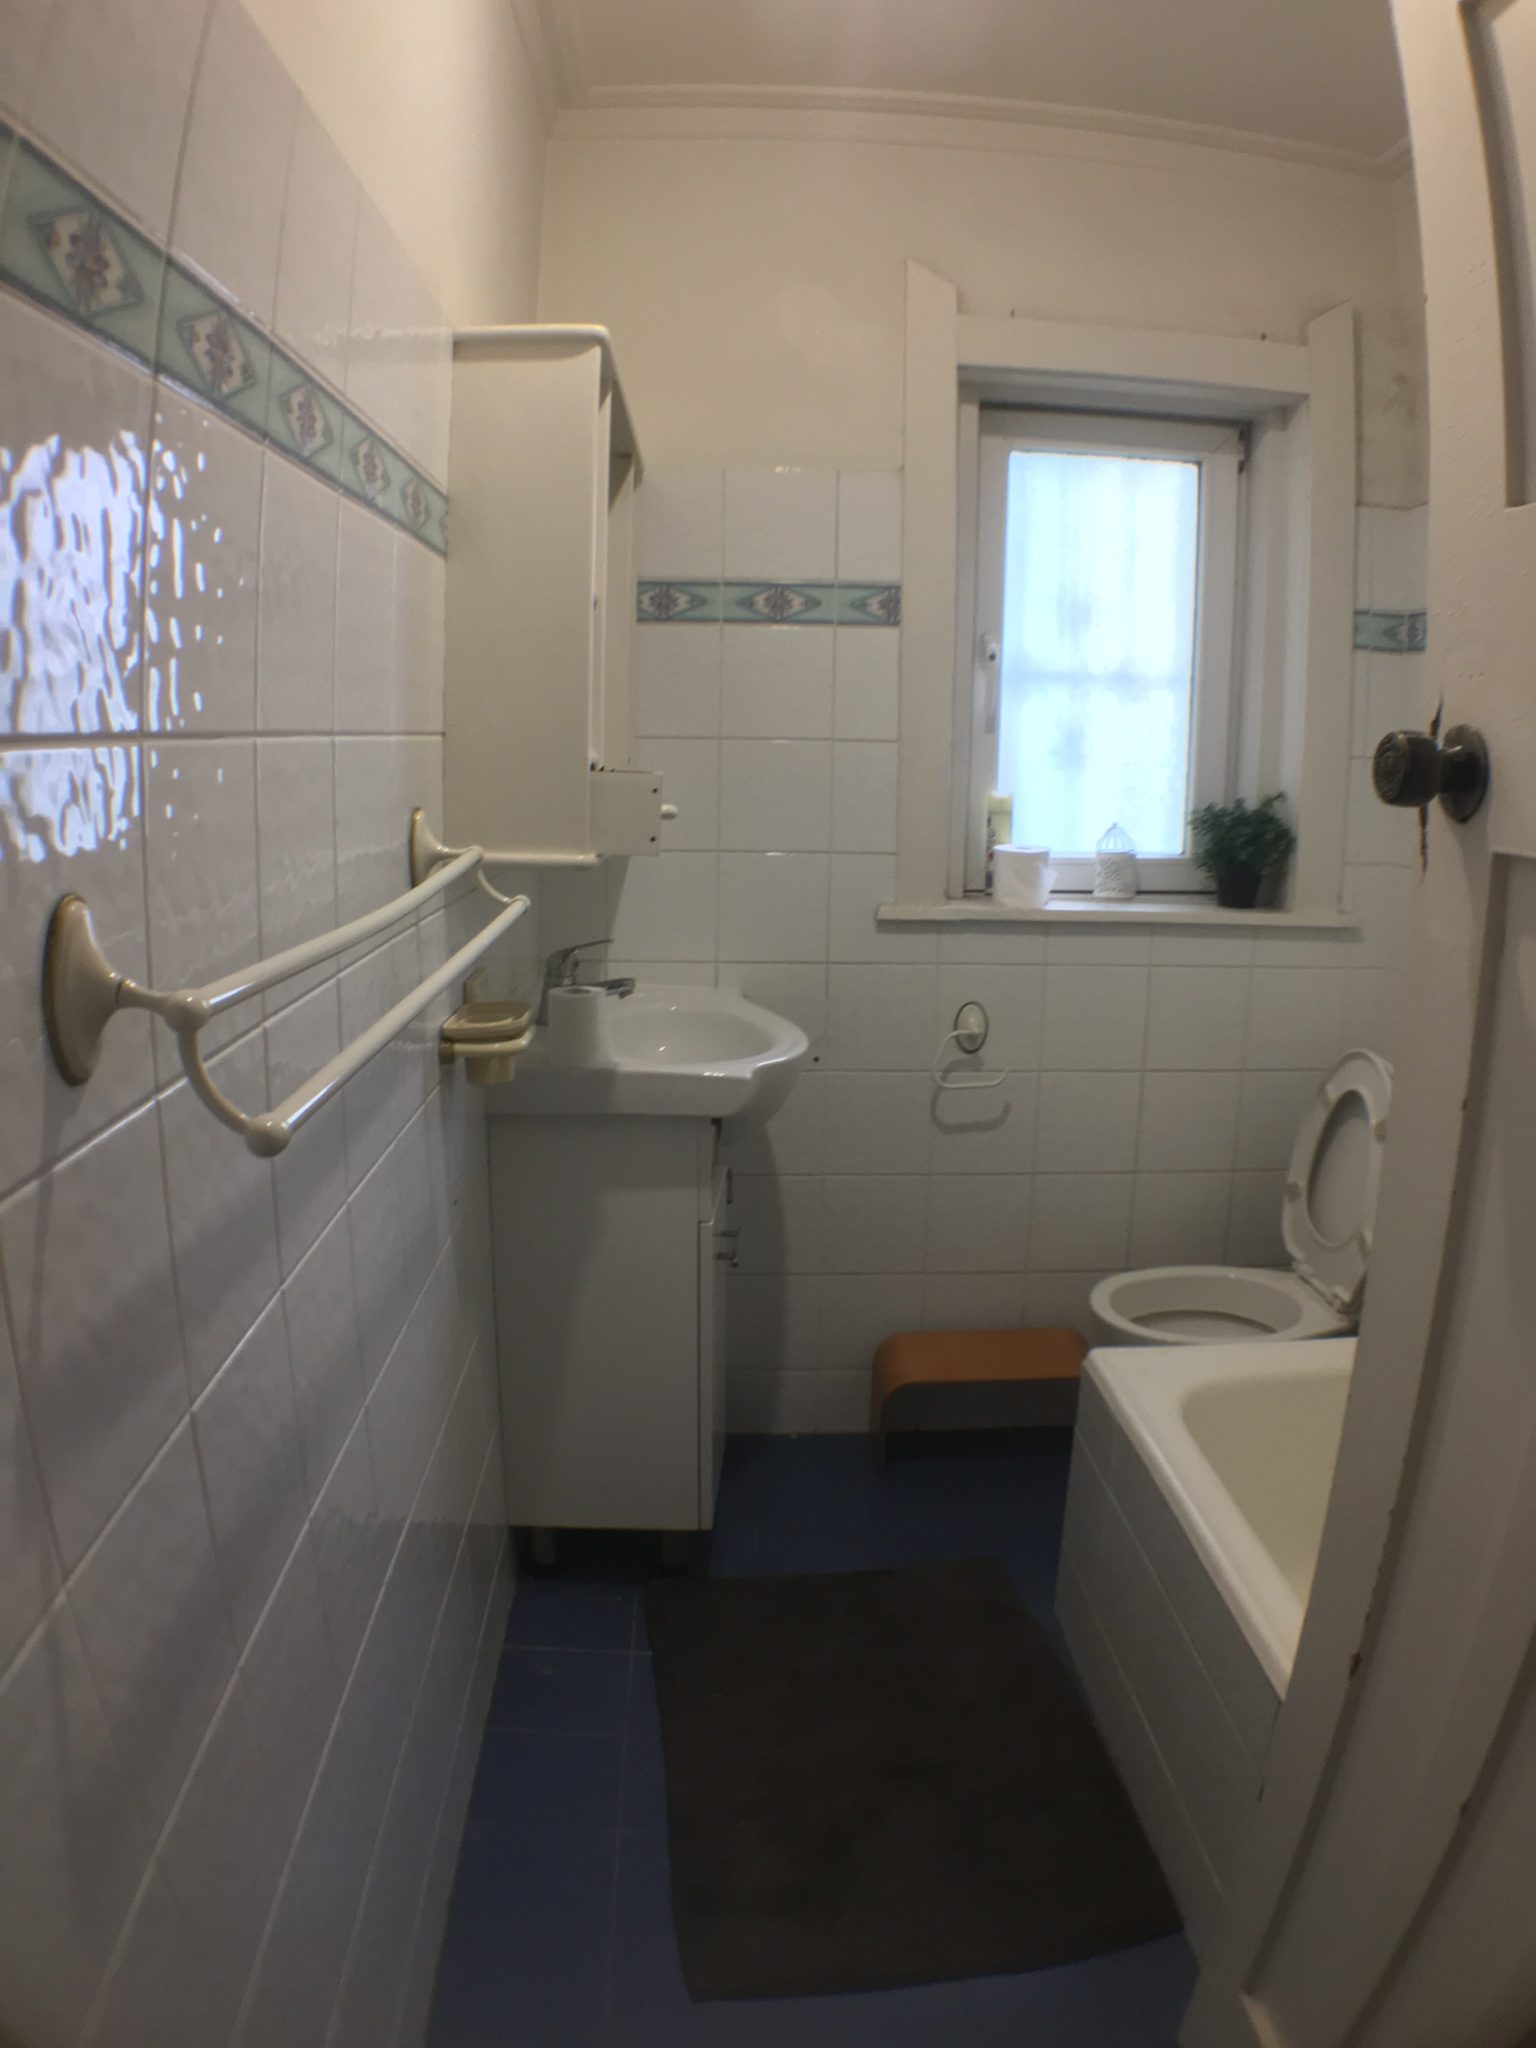
Getting the layout of your bathroom right is crucial if you are going to enjoy this space. We begin by identifying where your plumbing goes and deciding with you, a logical flow for everything, including the best location for your bathtub, vanity, storage, toilet, and shower.

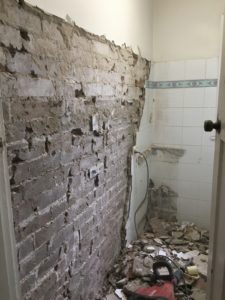
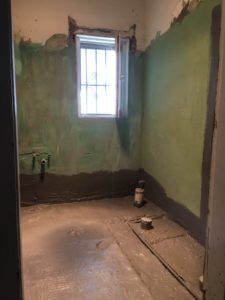
2.Demolition
Once the bathroom design is finalised we can move onto demolishing and stripping out your old bathroom. That means removing all the old fittings, cabinetry as well as wall and floor tiles as required. Here we work hard to minimise any mess and leave the space ready for the works to begin.
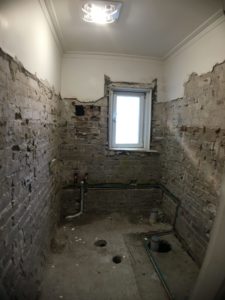
3. Plumbing Rough-In
Work now starts on your bathroom with the plumbing rough-in, which is when we mark up all the locations for your wall plumbing and make sure all the dimensions are right. It is crucial to get all this right otherwise your fittings will not fit, or you may not have enough clearance or space around your fittings.
4. Rendering Walls
Rendering comes next, which gives your walls a smooth finish. The first step is to apply a coat, followed by screeding, floating and sponging – ready for your walls to be tiled or painted later. A quality rendering job is really important for small mosaics tiles when you need a perfectly smooth surface. You will also need to render if the old tiles don’t come off the wall easily and the demo team smashes the tiles and cement render out.
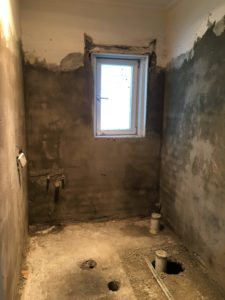
5. Waterproofing
Next is waterproofing, which needs to be done right – and to Australian Standard (AS 3740-1994) – to avoid any leaks or nasty surprises later on. A level floor helps, so your tiler needs to be on top of this. Waterproofing is also done by a qualified tiler or dedicated waterproofer, who install the polyurethane or acrylic membrane paying special attention to the entire shower floor, as well as the walls to 1800mm. If your bathroom is on the second floor or in a multi-level apartment block the whole floor also needs to be waterproofed.
6. Cement Bedding
Getting the water to drain in your bathroom is critical to avoid water pooling. Inexperienced tilers often get the falls wrong – and it will be an expensive fix. The falls of your cement bedding need to follow Australian Standard (AS 3740– 2004) and drain to the floor waste of your shower and bathroom.
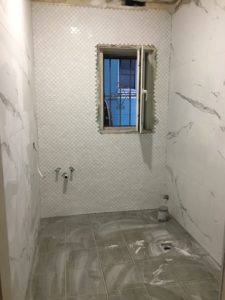
7. Tiling
We now move onto your bathroom floor and wall tiling. Here some practical things you need to know, include that floor tiles should be at least 600mm x 300mm for the falls to the drains. The preferred tile size is actually 300mm x 300mm as this makes it easier to get the right falls. If you are thinking of laying mosaics tiles, be aware tilers charge more for these as they are more fiddly and take longer to lay. Builders also have to make sure bathroom walls are dead straight as mosaics show up even the slightest variation in the wall. Go for larger tiles if your wall is not dead straight as they can help hide wall inconsistencies.
8. Plumber and Electrical Fit off
Time to get excited, because the plumber fit off is when your bathroom begins to take shape. All your fittings – toilet, bathtub, vanity, basin, & tapware – needs to be onsite for our plumbing and electrical team to install. This will also include items like your lighting, exhaust fans, and heated towel rail. We make sure that your freshly tiled walls and floors are protected and not damaged during this phase of the works.
9. Shower Screen & Mirror
Shower screen – framed, frameless or semi-frameless – is one of the last elements to get installed. Together with any mirrors, which are not just a practical necessity, but can help make your bathroom look a lot more spacious.
10. Clean
We are getting close now, as we clean up ready to have all the joints siliconed and sealed. A builders clean makes sure all the debris, excess grout and materials are removed so all the wet area edges are ready for siliconing, and to ensure the silicone is consistent and level.
11. Silicone Joints
Siliconing makes sure all the edges, joints and corners of your bathroom, bathtub and shower recess are sealed to prevent moisture penetration. Once dry your bathroom is good to go!
Hope that helped! If that too overwhelming, leave to the experts and we will coordinate all the elements of your bathroom renovation, which avoids contractors working on top of each other – but also saves you worrying about chasing tradies.